Using the WordPress block editor to create ads is a different yet practical approach to designing your ads. From designing the ad in the block editor to integrating it into Advanced Ads, find all the necessary steps here.
Table of Contents
Creating the ad in the block editor
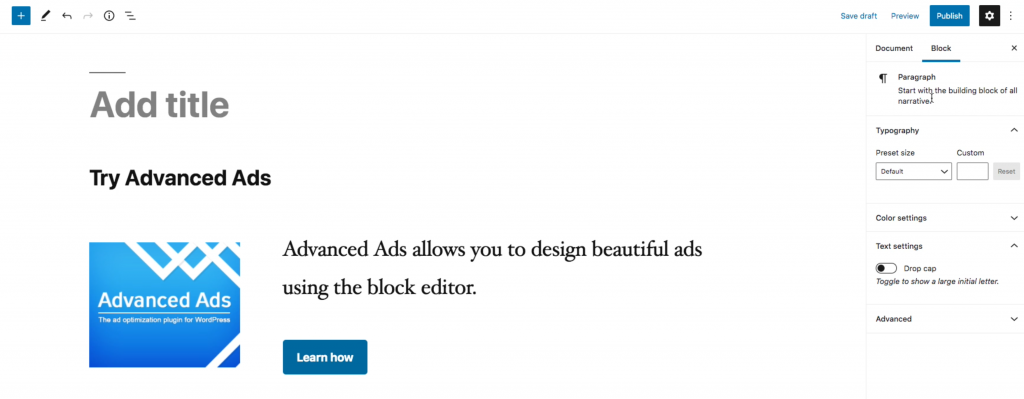
First off, create a new post in your WordPress backend. Here, you can create and layout your ad. The title of the post itself can be left empty. However, if you want your ad to have a title, put it in the first line. Making it bold or assigning the Header block will make it more visible.
Remember that your finished ad will later look like the post you are designing now in the block editor.
Designing your ad
Next, you are free to assemble your ad as you like. Add an image, some descriptive text, and, for example, a button with a link attached. Thus, it’s possible to integrate calls to action by creating different buttons and changing the ad’s background color.
Design it to your liking, and align the text and images to create your block editor banner and how it should look.

Transferring your ad from the block editor to Advanced Ads
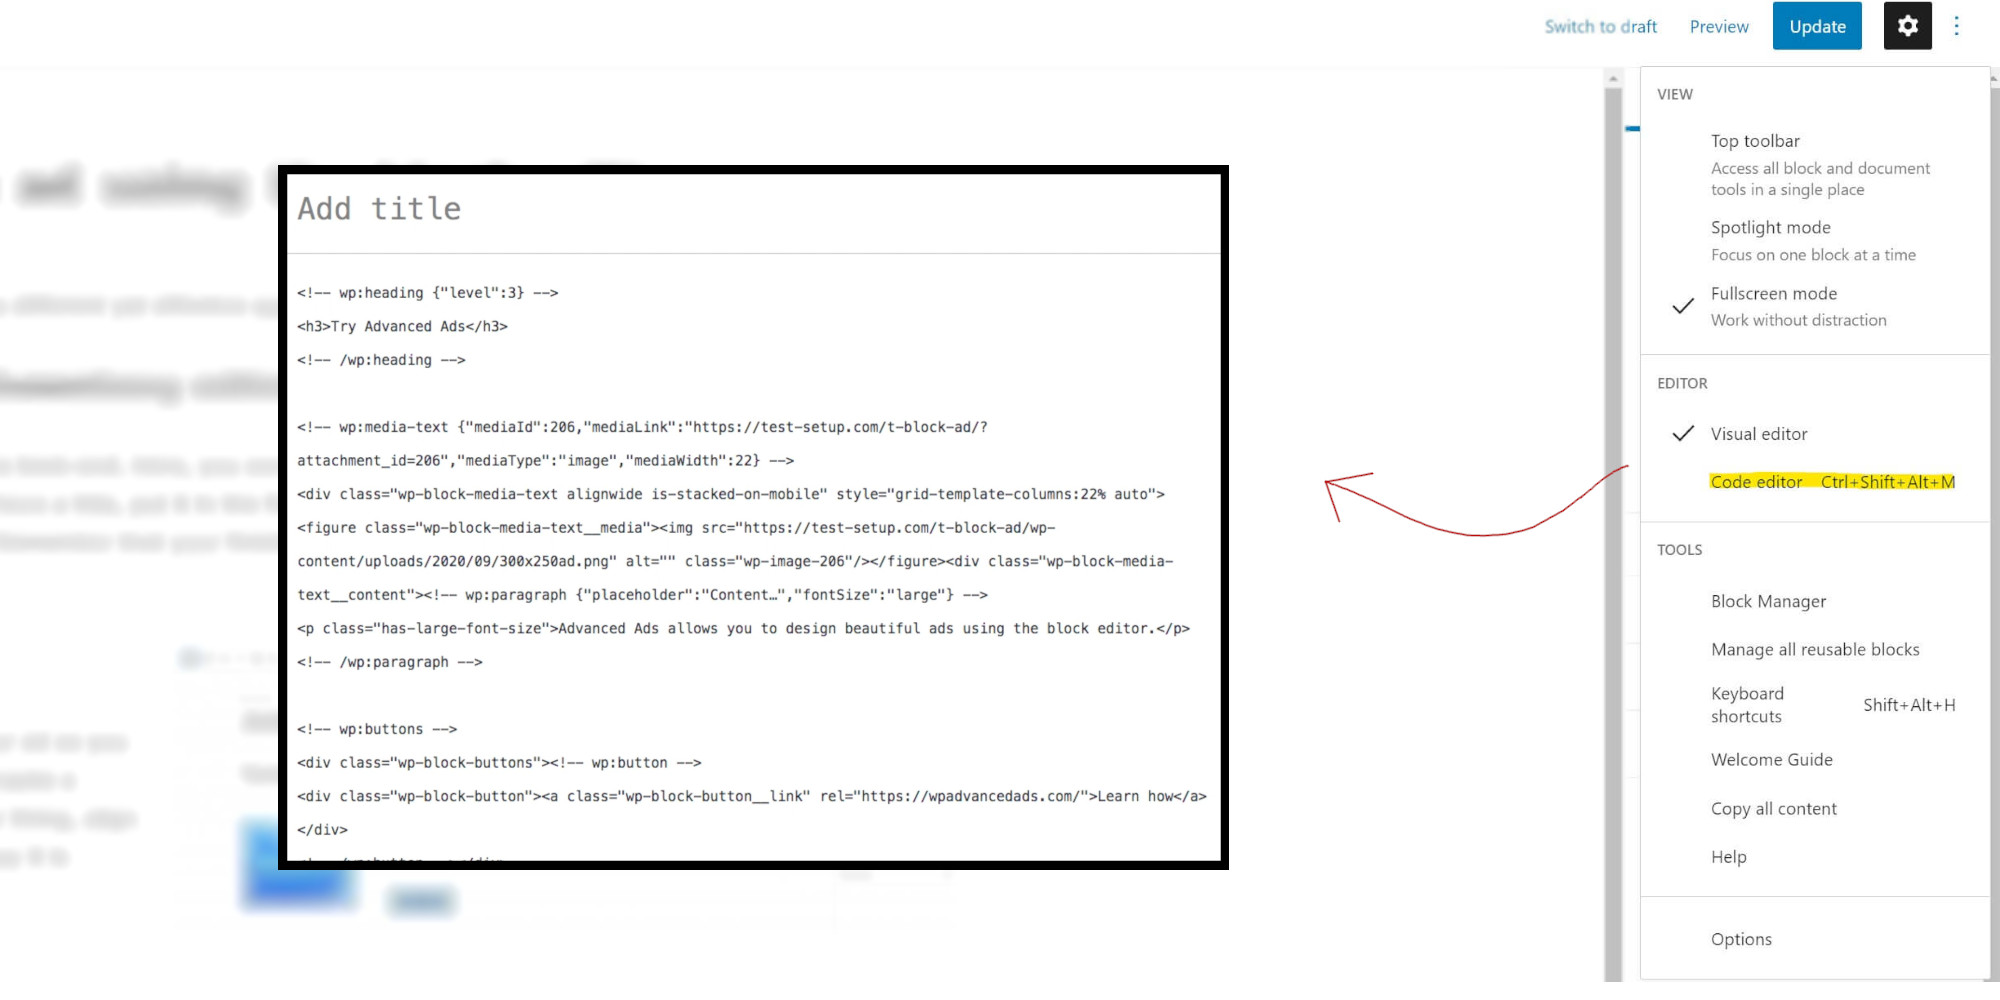
Once you finished the design, click on the three-dotted icon next to the gear symbol in the editor’s upper right-hand corner. Switch to the code-editor view and copy the whole content. Saving this post is unnecessary, though remember that you might want to alter the design down the line.
For making your design into an ad:
- Create a new ad with Advanced Ads and choose the Plain Text & Code ad.
- Copy your block editor code into the according field.
- Save the ad, choose a placement, and check it out in the frontend.
CSS issues when designing ads with the block editor
If your ad’s styling does not look as intended, you might have to deliver the CSS with the block, and you need to copy it in the ad.

