OKO ad management, as you might have guessed by the company’s name, offers a solution to help publishers manage their ad inventory and make the most out of it.
OKO will allow you to access a larger pool of advertisers compared to Adsense or other ad networks. This pool includes Adsense itself. It will potentially increase your CPM thanks to the larger number of advertisers competing for your ad space.
Table of Contents
Get early access to the Google AdX inventory through OKO
Most people become aware of this network as a way to access the Google AdX inventory. Google AdX is considered by many as Adsense’s “big brother”. Getting approved for Google AdX is tricky and requires traffic statistics that reach into the millions of monthly sessions. Therefore, it is becoming inaccessible for small and medium websites.
As a Google Certified Publishing Partner, OKO can offer its clients a subsidiary AdX account. They also provide access to the AdX inventory without having an account.
Getting early access to this premium inventory comes at a price, though. OKO will take a 15% cut on any revenue generated by your subsidiary account. Therefore, the increased competition must be offset by an increase in revenues of more than 15% to compensate for this. In most cases, they reach this threshold easily.
Applying to OKO Ad Management
Even though OKO is not as restrictive as AdX itself, they will still require that your site meets some minimum standards in terms of content, design, and performance. And more importantly, your website receives a minimum of 2 million page views per month.
If you think your site meets these criteria, you can submit your URL here. Unlike Adsense, which is pretty much a self-serve product, someone from the OKO team will get in touch with you to schedule a call to discuss if your site and their solution are a good fit.
Setting up OKO with Advanced Ads
Once OKO ad management has accepted your application, you will only need to add some snippets to your site and change files to start serving ads with them. Thanks to Advanced Ads, this process becomes straightforward and can be completed in three easy steps.
Adjust your ads.txt file
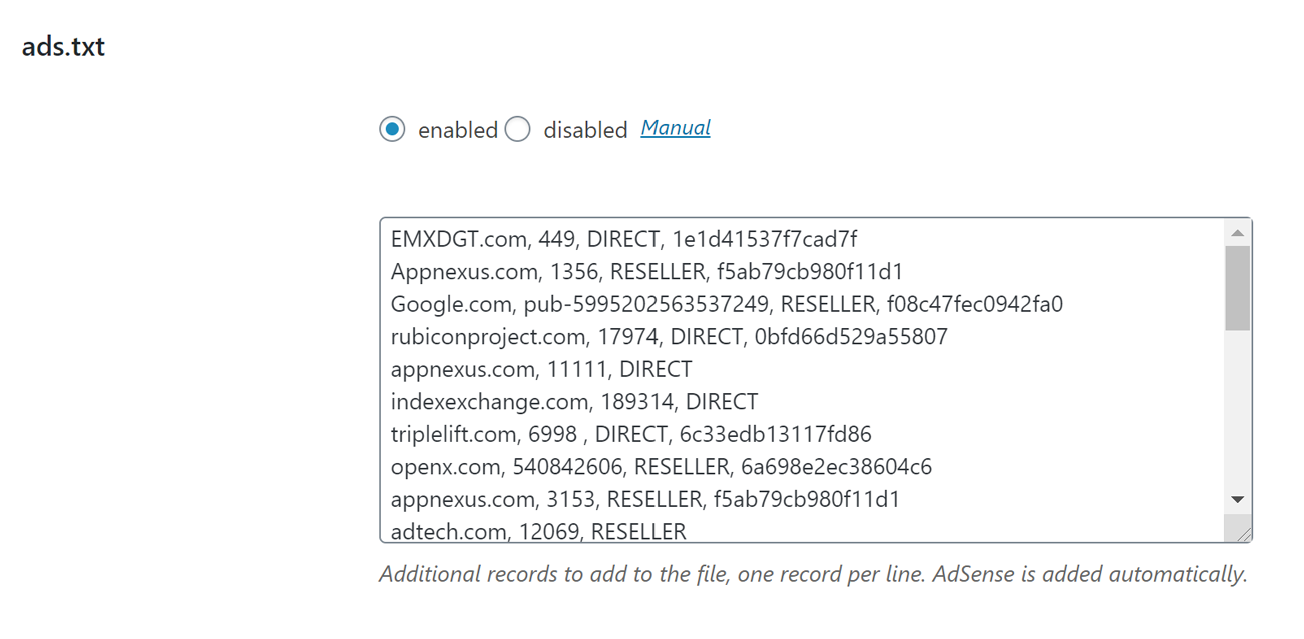
First, you’ll need to modify your ads.txt file and add a few lines that OKO will provide. This will authorize OKO and several new ad networks to display ads on your site.
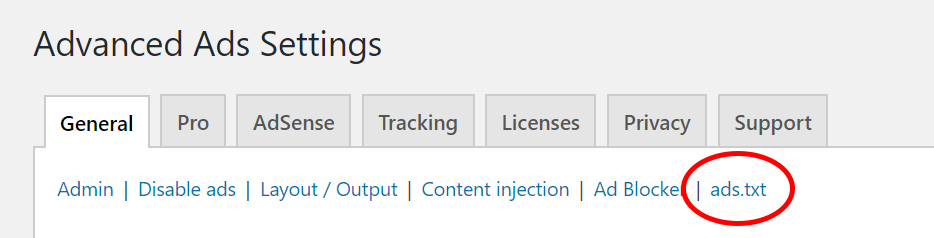
To do this, navigate to Advanced Ads > Settings in your WordPress admin menu, and click on the “ads.txt” tab at the top of the page.
Then paste the lines that OKO provided into the text area and save your changes.
Add the ad code
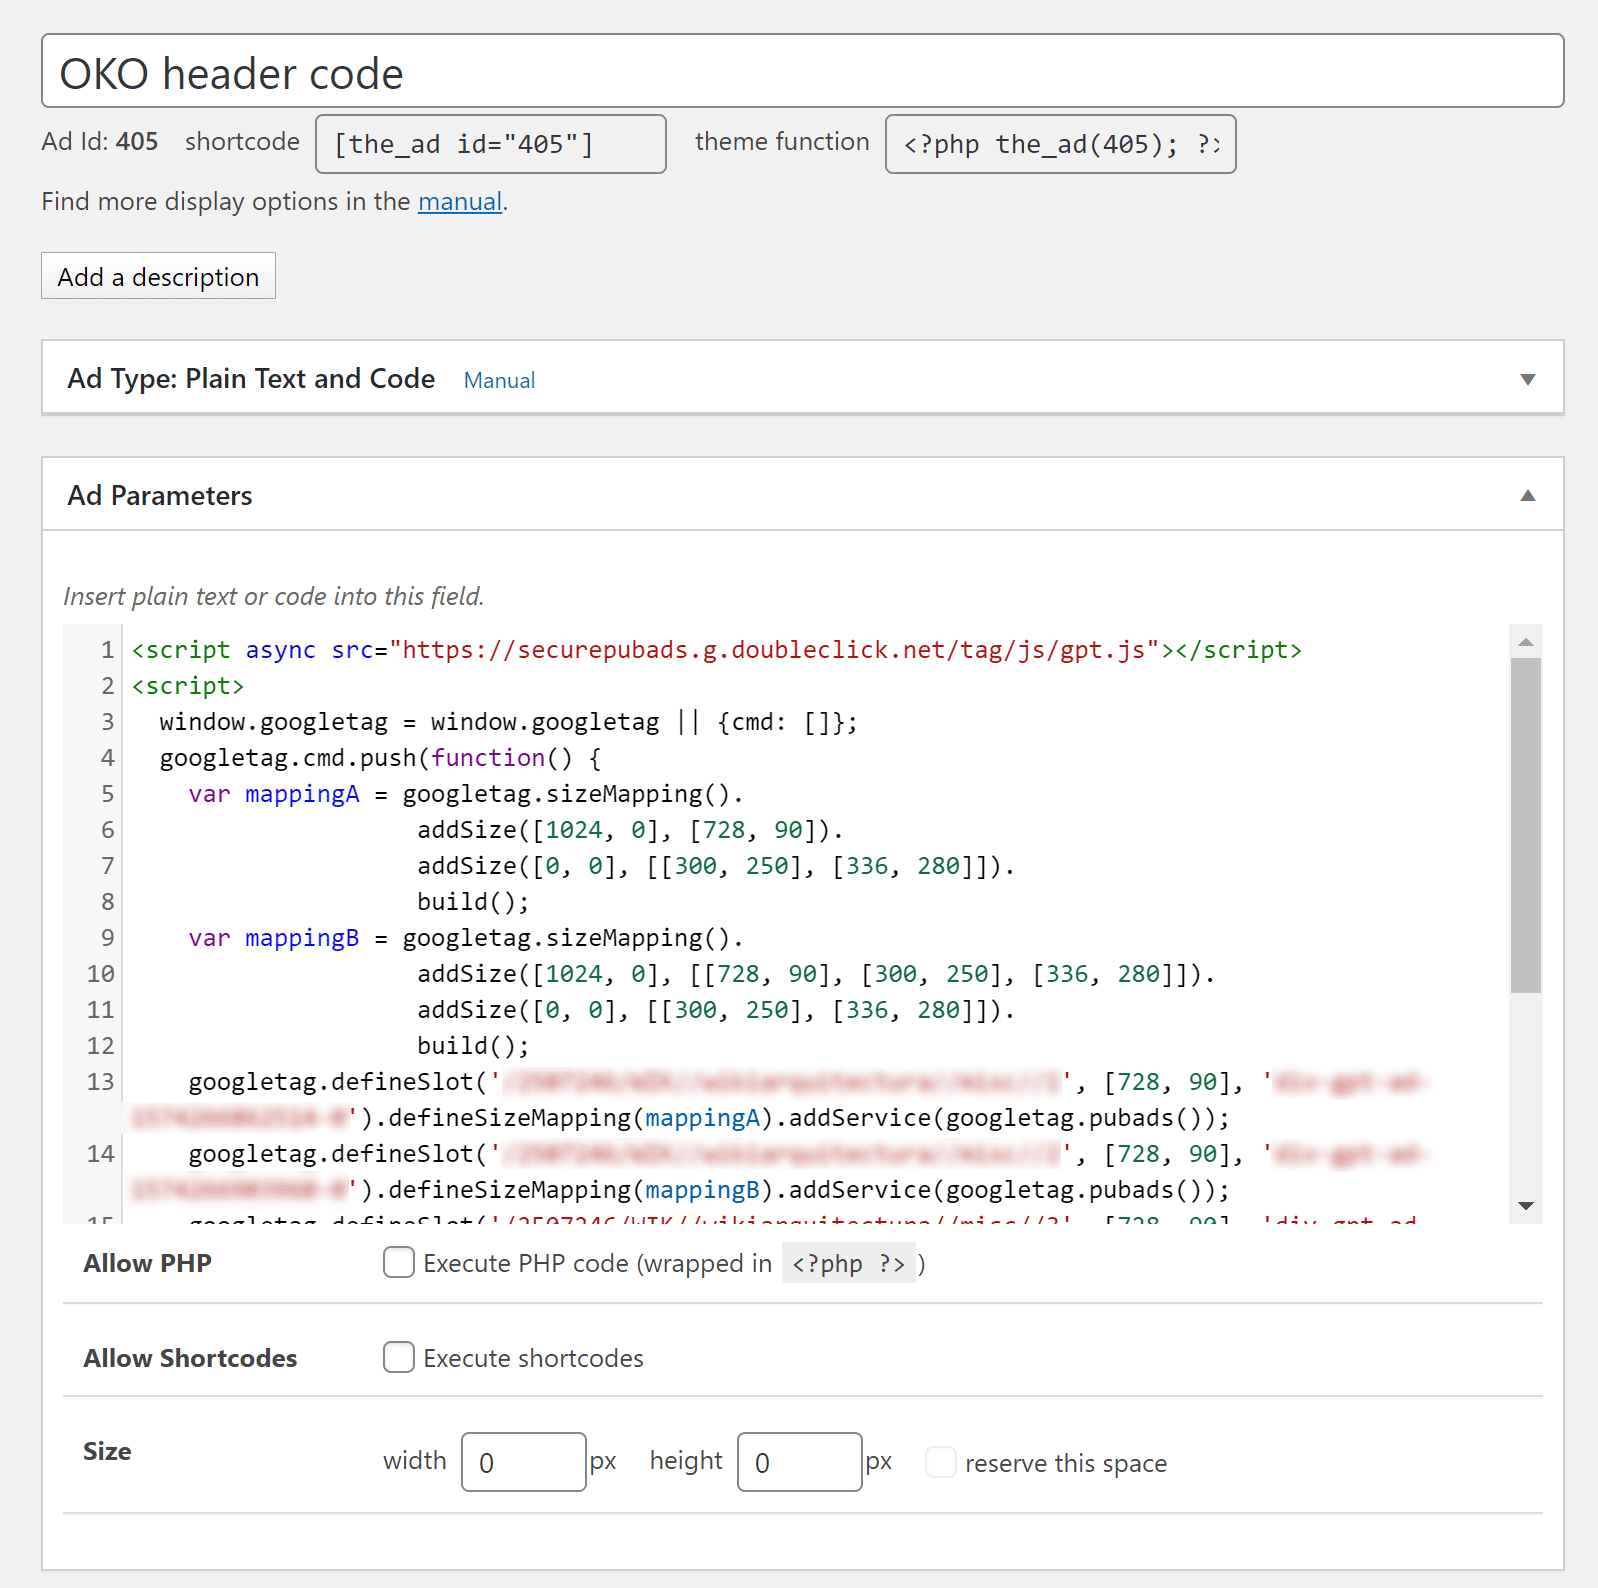
Next, you’ll need to add some general code to your site. In short, this code is responsible for requesting ads to fill your inventory and receiving the results of the real-time bidding between all the advertisers in your pool.
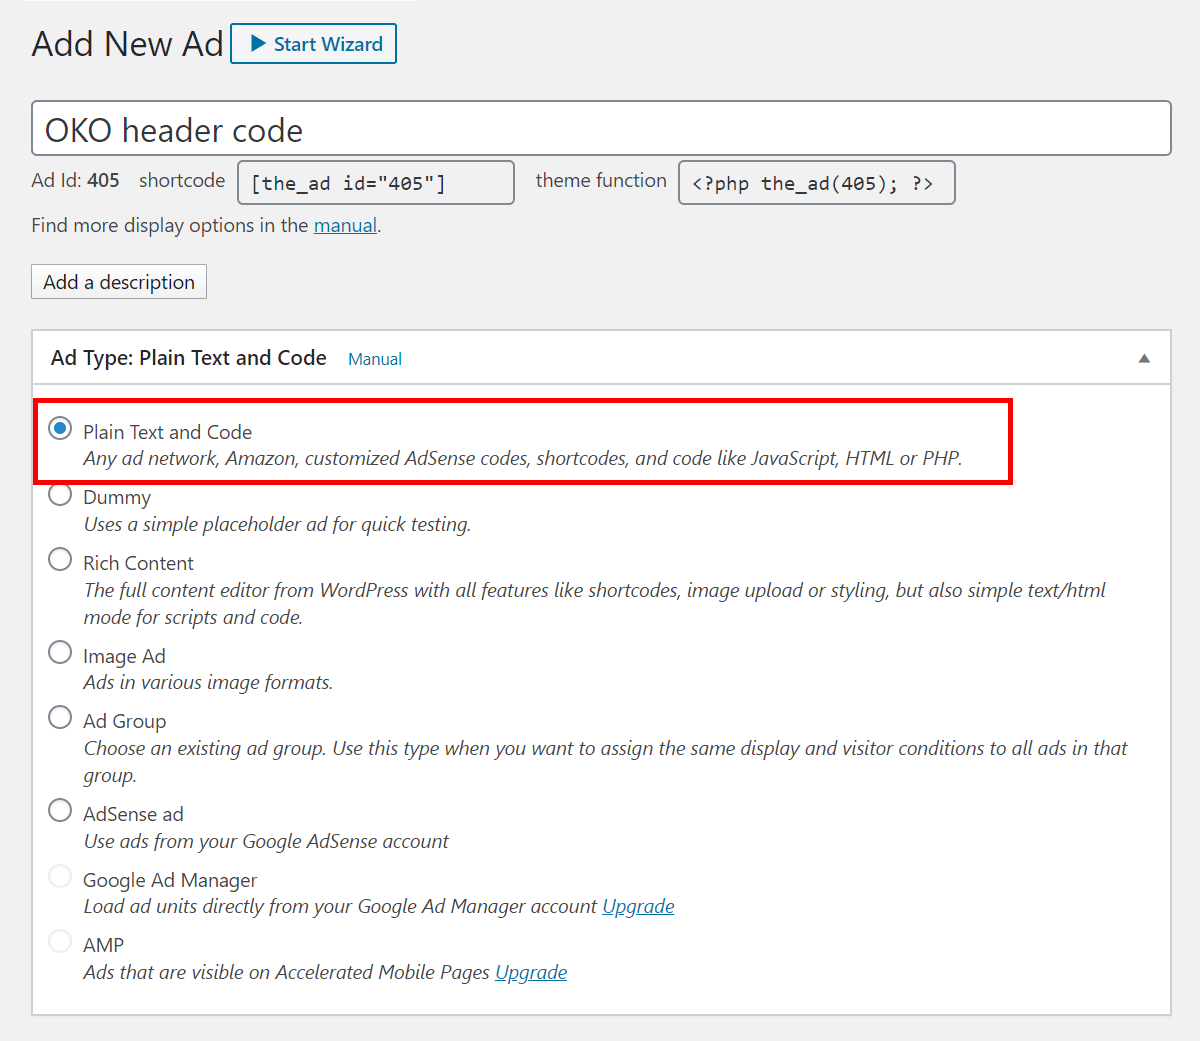
To do this, you’ll need to create a new “Plain Text and Code” ad unit in Advanced Ads.
Copy the code provided by OKO into this ad unit.
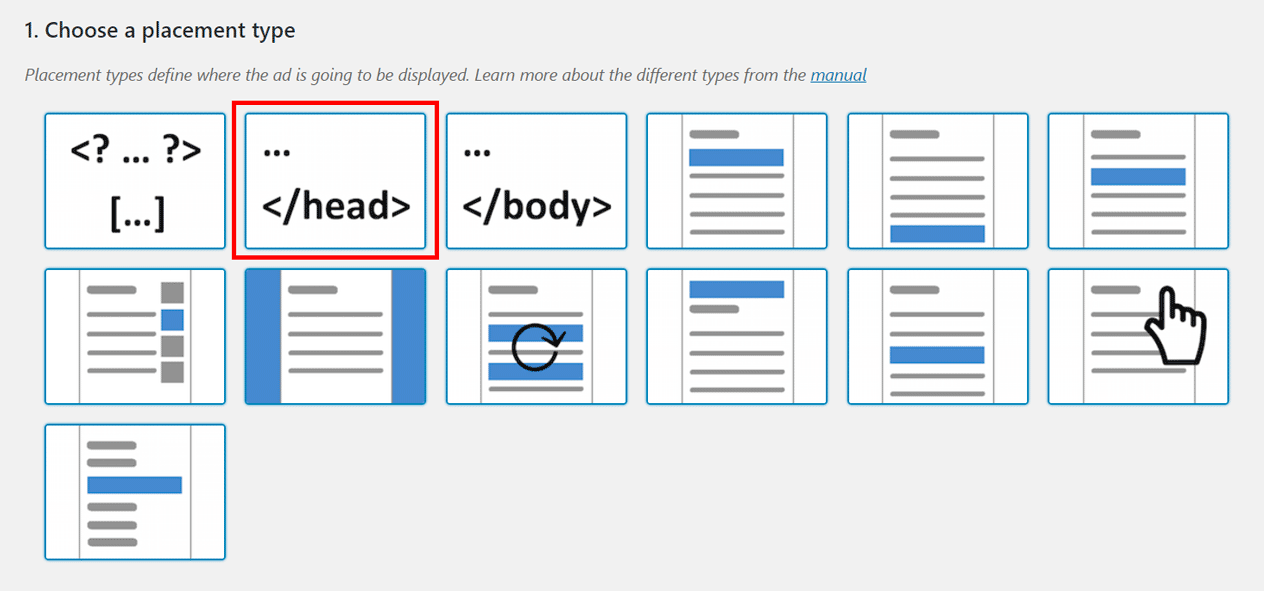
Next, you’ll place the ad in the head of your website. So go ahead to “Placements” under the Advanced Ads admin menu and select the placement with the </head> text on the icon.
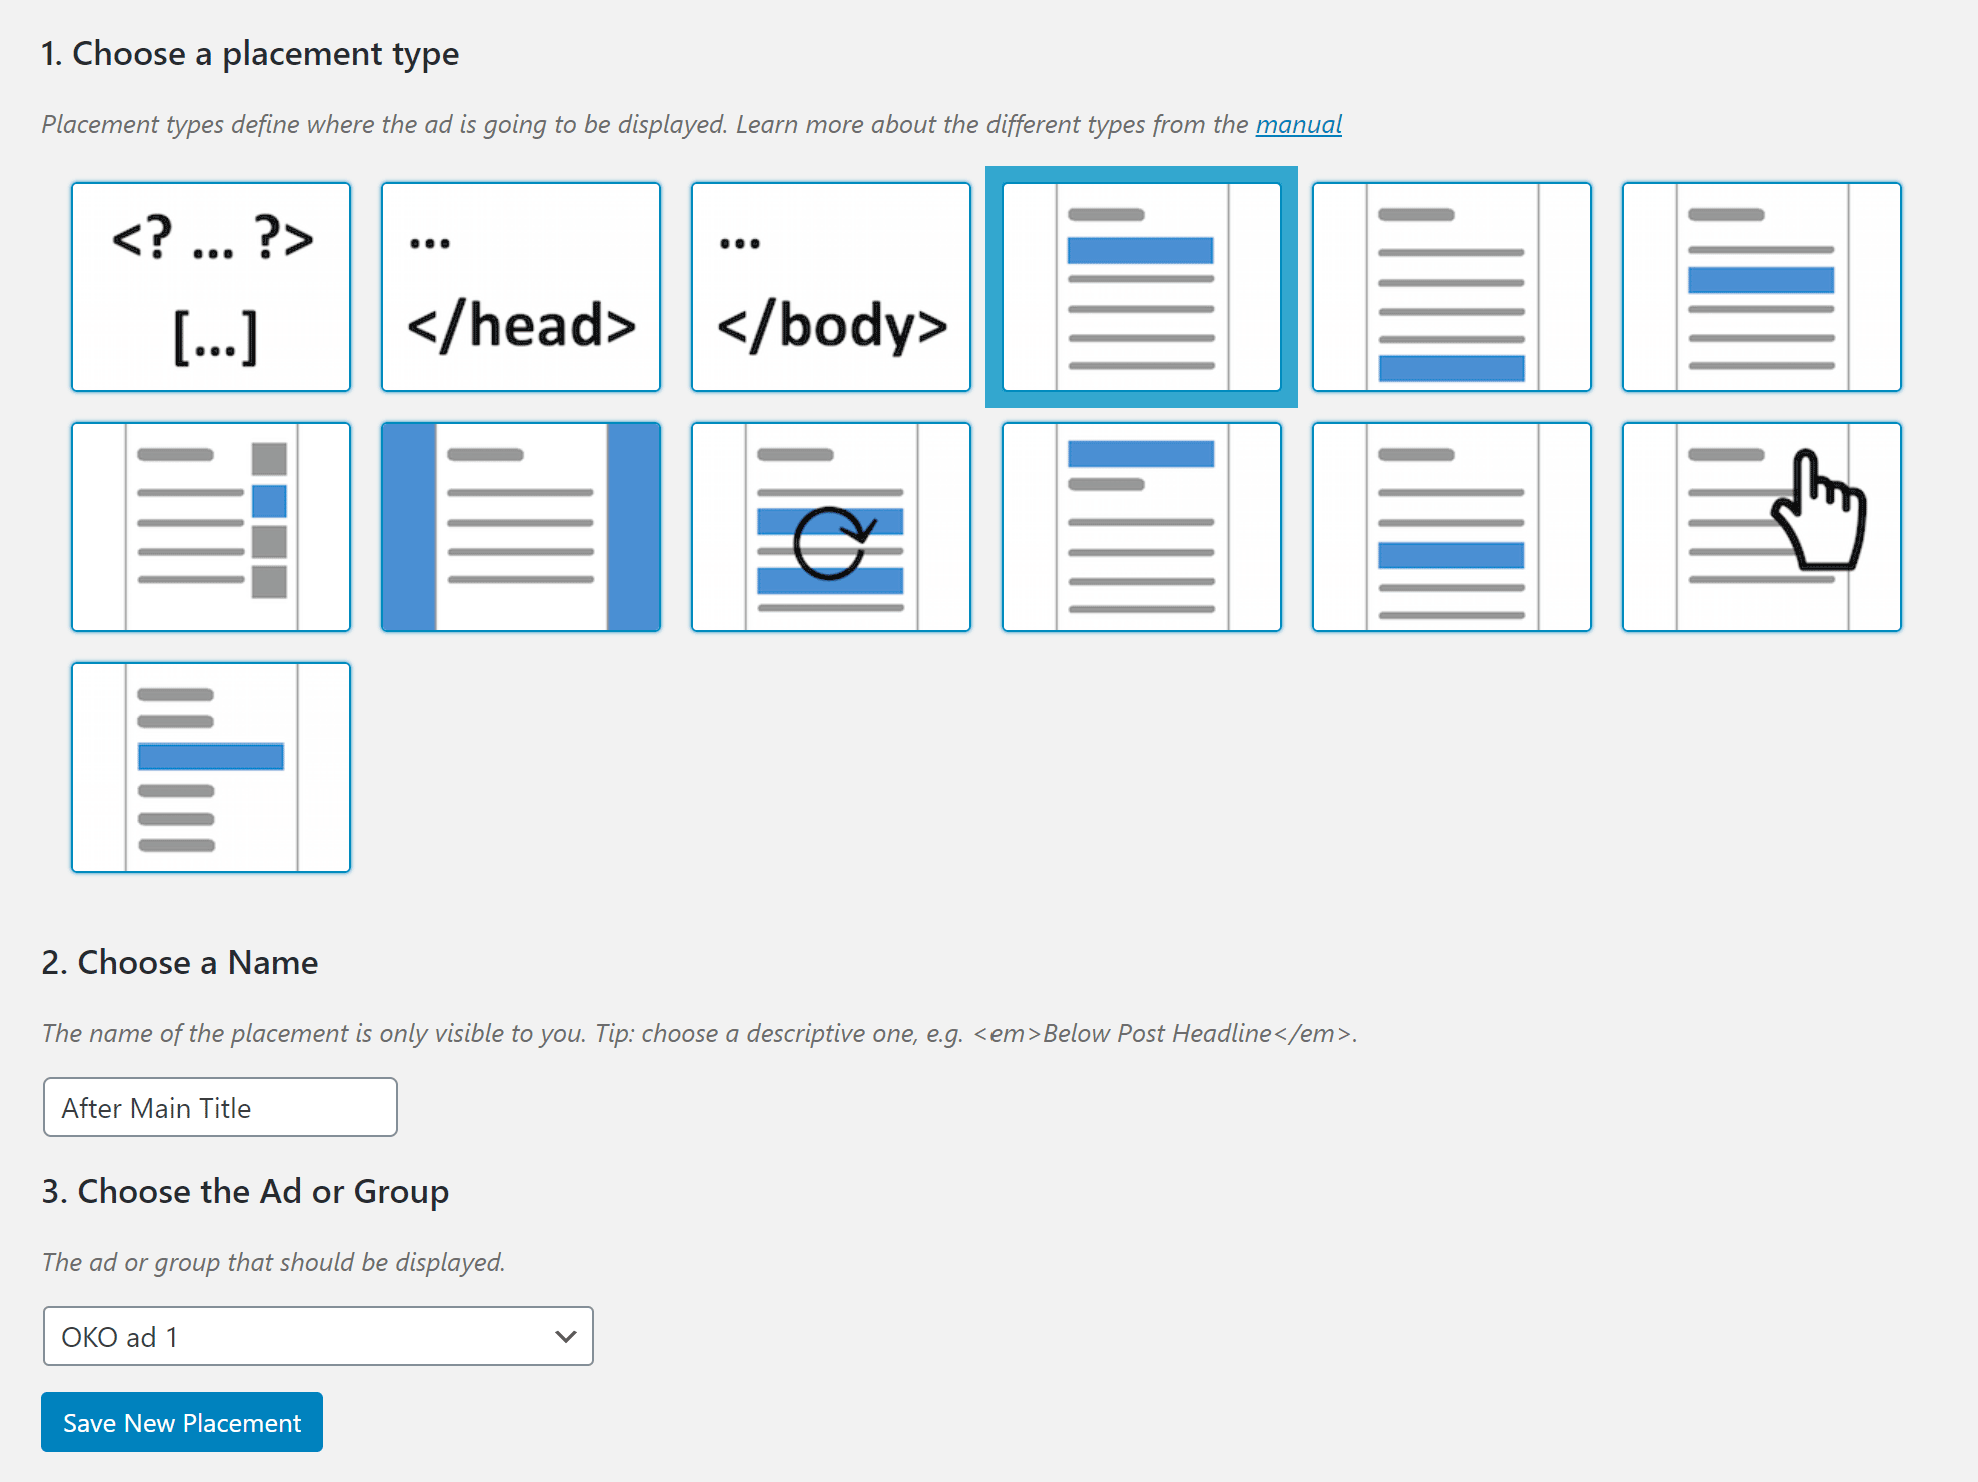
Create and place ads
Once you’ve completed steps one and two, you are ready to create your ad units and place them where you would like them to be displayed. You can do this either by selecting the placement through the Advanced Ads interface or by using the shortcode in your content.
First, create a new ad unit.

And last but not least, select a placement for your new ad unit.
It’s that simple. You will now be serving ads through OKO ad management and hopefully seeing a healthy increase in revenue.
The only downside to OKO is that their user dashboards offer way less information than Adsense and other ad networks. Data on impressions and earnings will only be available after the end of the day, and the reports are minimal. If you like to dive into the reports to compare click rates, cost per click, the performance by country or device, you won’t be able to do this with OKO. But do you care about all that reporting if you are making more money?