Placements are pre-defined places in your theme and posts that you can use to deliver ads.
You can use them to change ads and ad groups in the same place without the need to change your templates.
Table of Contents
Placement Types
Advanced Ads comes with 7 placements. Add-ons provide even more of them.

 | Manual Placement The Manual Placement is not visible automatically in your content. You must add it using a WordPress block, a widget, a shortcode, or a PHP function. It is best used when placing ads in specific positions in your template files and allows you to change the placement content easily later. |
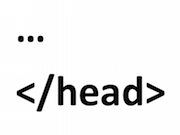 | Header Code Use the Header Code placement to place any code before your theme’s closing |
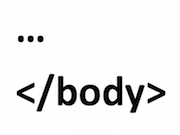 | Footer Code The Footer Code placement injects the ad into the footer – before the closing </body> tag. It would be visible, but this placement is often used to run scripts or add styles. |
 | Before Content This placement injects the ad before the content of the post or page. |
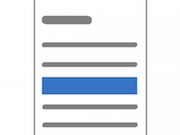
 | Content This placement injects the ad into the content of posts and other public pages. You can also fine-tune to inject the ads before or after paragraphs, headlines, and more. Manual |
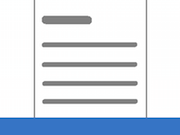
 | After Content Use this one to inject the ad after the post or page’s content. |
 | Sidebar Widget Injects the ad into widgets to display it in the sidebar or the footer. Manual |
 | Above Headline (Advanced Ads Pro) Injects the ad before the main headline H1 on singular pages. |
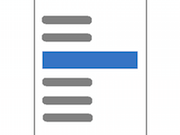
 | Content Middle (Advanced Ads Pro) Injects the ad in the middle of the content – based on the paragraphs. |
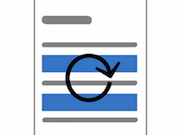 | Random Paragraph (Advanced Ads Pro) It injects the ad after a random paragraph in the main content to fight ad blindness. |
 | Custom Position (Advanced Ads Pro) Attach the ad to any element in the frontend. This placement includes a frontend picker that helps you select the frontend element without any coding. Manual | Video |
 | Post Lists (Advanced Ads Pro) Display the ad between posts on post lists, e.g., home, categories, archives, search. Manual |
 | Background Ads (Advanced Ads Pro) Display the ad in the page background (skin ad). Manual |
 | Ad Server (Advanced Ads Pro) Display ads on other websites that don’t use Advanced Ads or even WordPress. Manual |
 | BuddyBoss (Advanced Ads Pro) Inject ads into the BuddyBoss activity streams. Manual |
| BuddyPress Content (Advanced Ads Pro) Inject ads into BuddyPress pages depending on the selected hook. | |
 | bbPress Static Content (Advanced Ads Pro) The bbPress static content placement provides hooks to inject ads into multiple positions on the /forums, /forums/name, or /forums/topic/name pages generated by bbPress. |
 | bbPress Reply Content (Advanced Ads Pro) The bbPress reply content placement provides hooks to inject your ads at the nth reply on /forums/topic/name pages. Manual |
 | Header Bar (Sticky Ads) The Header Bar placement is fixed at the top of your page and does not move away when users scroll down. It is interesting for ads and navigations, internal promotions, or any content you want to have fixed on top. |
 | Footer Bar (Sticky Ads) The Footer Bar placement is practically the same as the Header Bar. It is a widespread use case for the Sticky Ads add-on and can perform well. |
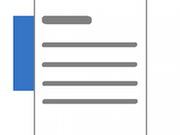 | Left Sidebar (Sticky Ads) The Left Sidebar allows you to attach an ad to your content box. You can also define whether this ad should stay put while users are scrolling down or not and adjust the main content element just if it is not recognized by the plugin automatically. |
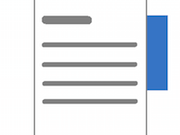 | Right Sidebar (Sticky Ads) The Right Sidebar works precisely like the Left Sidebar, allowing you to inject an ad on the right side of your main container. |
 | Left Bar (Sticky Ads) The Left Bar is similar to the Sidebar Ads. The difference is that they are not attached to the main content box but the browser window. You can also select whether to fix the ad to the screen or let it be scrolled away. |
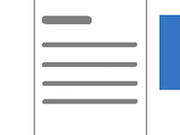 | Right Bar (Sticky Ads) The Right Bar is similar to the Left Bar attached to the browser window. You can also select whether to fix the ad to the screen or let it be scrolled away. |
 | PopUp and Layer ads (PopUp and Layer Ads) Create a PopUp or Layer with an ad or any other type of content. This placement comes with different effects, like showing up after scrolling or when a user wants to leave. You can also activate a close button and a timeout. Manual | Video |
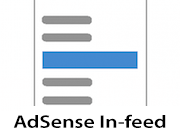 | AdSense In-feed (AdSense In-feed plugin) This placement is dedicated to the AdSense In-feed ads, placed between posts on homepages, category, and archive pages. |
 | Genesis Ads (Genesis Ads) If you use a theme based on Genesis, you definitely want to try this placement out. It offers access to unique placements for ads. |
More details about each placement
Above Headline
Advanced Ads injects this placement above any h1 tag on a page.
In the Placement positioning settings (Advanced Ads > Settings > Pro), you can choose if you want to embed this placement using JavaScript or PHP. Both methods handle pages differently.
When you select “Before page load using PHP”, Advanced Ads will inject the placement above any h1 on all pages.
If you choose “After page load using JavaScript”, the plugin doesn’t inject on non-singular pages and considers the injection like other content placements. This means that Advanced ads would not inject into excerpts and honors the “Unlimited ad injection” option.
Before and After Content
Injection of an ad to a post or page will only work on single pages, e.g., not on category pages or your front page (if you display the latest posts there).
If you use other plugins that add content before or after post contents (e.g., a list of related posts), it is impossible to say whether the ad is posted before or after that additional content. Developers might want to play with the hook priority here.
Custom Position Placement

Header Code
The ad injection into the header happens technically before the closing </head> tag. This position usually is not meant for output, even though browsers will generally display an ad here.
You might use this placement to enter a tracking code or load some external scripts. Some ad networks need those.
To work, your theme needs the wp_head() function. This can typically be found in the file header.php and is a quasi-standard for WordPress themes. Anyway, without it, there is no auto-injection into the header possible.
Footer Code
The ad injection into the footer relies on the wp_footer() function that you can typically find in the footer.php file of your theme.
Manual Placement
This placement type is for manually added placements. You can display it using a shortcode or function (see below).
To display the content of the manual placement with the ID header-left in your template file, use the following function.
<?php if ( function_exists( 'the_ad_placement' ) ) {
    the_ad_placement( 'header-left' );
}  ?>Code language: HTML, XML (xml)
Use the following shortcode to display the content of the placement with the ID header-left in your post content.
[the_ad_placement id="header-left"]
You can use the same placement multiple times. This might be handy if you want to use the position in the middle of each post. Simply include the placements shortcode with the same ID in each post.
Post Content Injection
Post Lists
The Post Lists placement uses the the_post() function used in most themes to list posts. However, if your theme does not run this function, you can only use a manual placement to put ads between posts. Check out this tutorial for more information.
Creating a placement
Visit Ads > Placements to add and manage placements from your dashboard.
If you already have placements, click on the Create a new placement button below the placement table.

1. Choose a placement type
First of all, you need to decide which type of placement you are going to create. Refer to the list of placements above to choose the right one.
2. Choose a Name
Enter a readable name for a placement. The name of the placement is only visible to you. Tip: choose a descriptive one, e.g., Below Post Headline.
3. Choose Ad or Ad Group
Select the ad or ad group you want to deliver through the placement. It can be empty if you haven’t yet created the ad.
4. Save New Placement
Click the Save New Placement button. The placement should now appear on the placement list.
5. Choose Options and select an item
Now check the placement table.
In the Options column, you will find options that depend on the placement type you chose.
6. Save the options
If you changed options, click the Save Placements button below the table to save your placements.
General Settings
Change the order of injected elements
By default, Advanced Ads tries to inject ads into the post content as late as possible. However, this might not always be your intention. To change the priority of the injection, use the following option in Advanced Ads > Settings > General > Content injection.

Tip: Most injections have a priority between 1 and 20, so when trying to find the correct value, start with 10 or 20.
Unlimited ad injection
Some plugins and themes trigger ad injection where it shouldn’t happen. Therefore, Advanced Ads ignores injected placements on non-singular pages and outside the loop. However, this can cause problems with some themes. You can enable this option if you don’t see ads or want to allow ad injections on archive pages at your own risk.
You find this setting in Advanced Ads > Settings > General > Content injection.
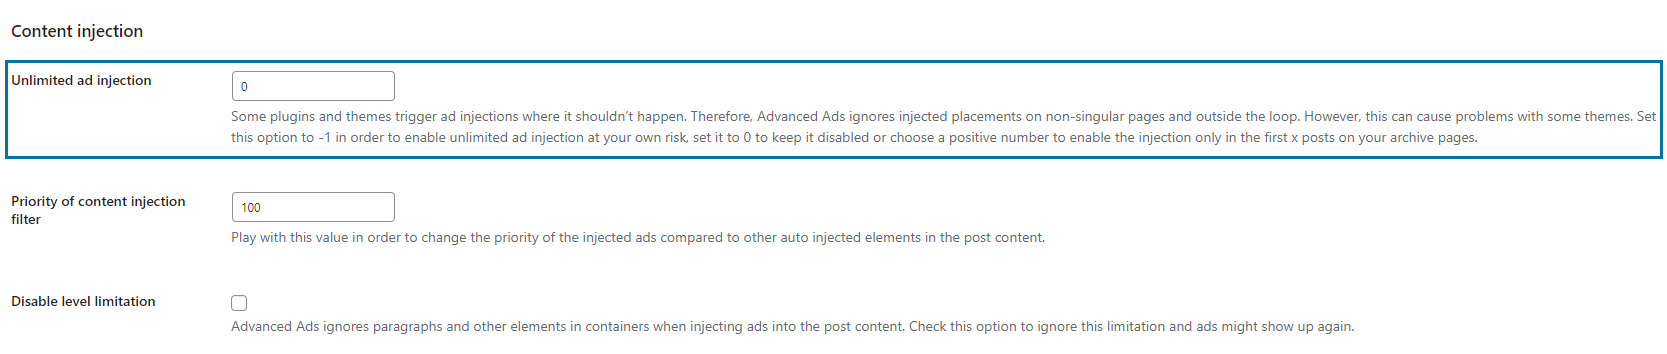
Set this option to -1 to enable unlimited ad injection at your own risk, set it to 0 to keep it disabled, or choose a positive number to allow the injection only in the first x posts on your archive pages. In the example above, ads are injected into the first 5 posts.
Adding display and visitor conditions to Placements
Advanced Ads Pro can add the display and visitor conditions to ads and directly to your placements. A typical use case could be delivering sticky anchor ads only on mobile devices.
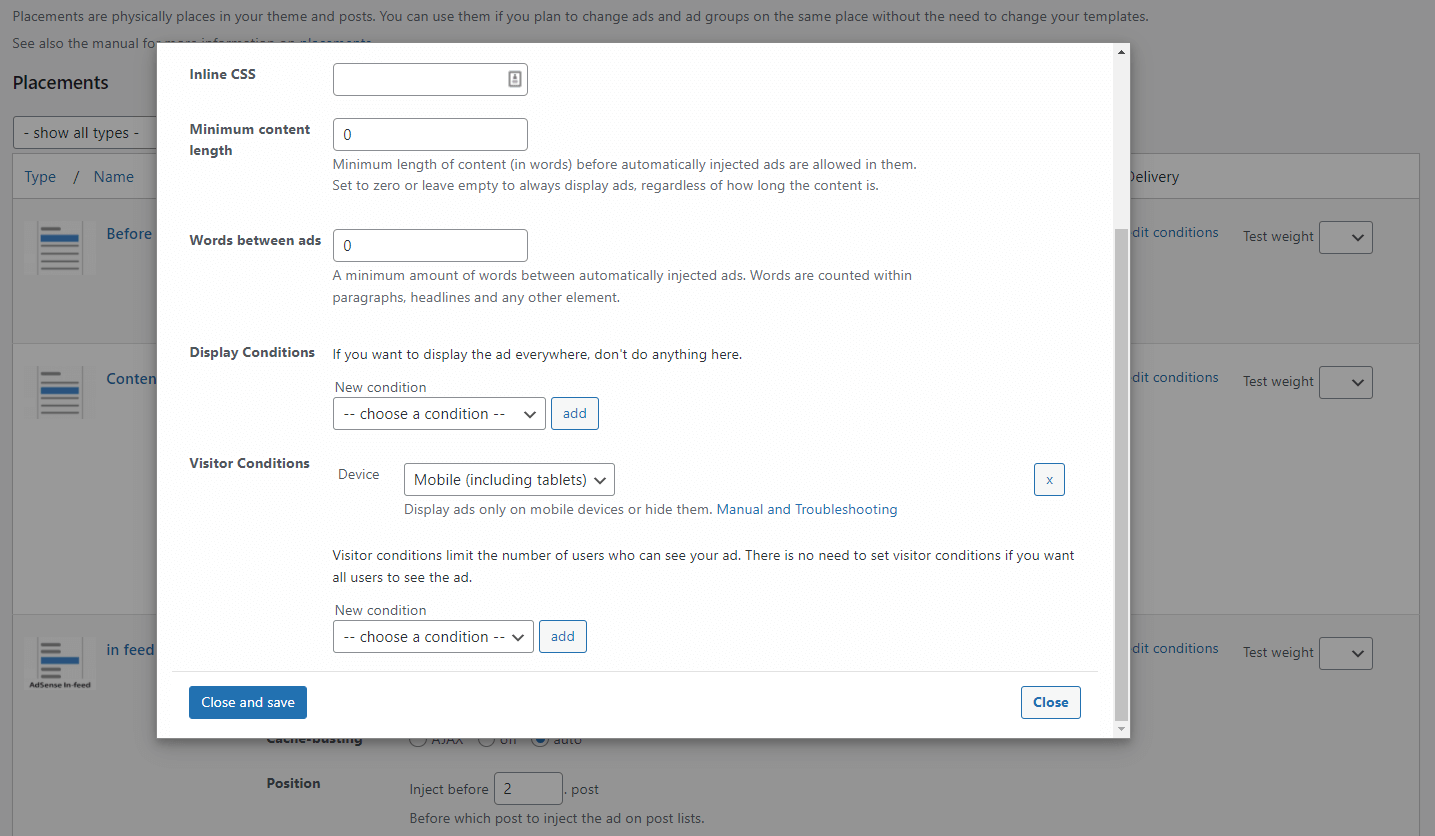
Advanced Ads checks the conditions at the placement level before those that you assign to specific ad units. The conditions at the ad level do not overwrite those at the placement level. If you assign conditions to both the placement and ad unit, they need to match for the respective ad to appear. You can only refine them.
For example, if you add the device Visitor Condition “Is mobile” to a placement, but the ad assigned there has the Visitor Condition “Is Desktop”, this ad will not appear because these two conditions can never match at the same time.
Example
Let’s say you have a condition for a placement to make sure it only shows on specific pages (condition on placement level). Then you assign an ad group to it with one ad to deliver on mobile and the other on desktop (conditions on ad level).
Applying Inline CSS to placements
In the advanced options of each placement, you will find a field for inline CSS. Here you can apply individual CSS rules to each placement.
The most common use case is specifying a minimum height of ads in a placement to avoid negative scoring due to Cumulative Layout Shift (CLS) caused by ads.
You can find a detailed description with CSS examples in our tutorial about Cumulative Layout Shift and ads.
Placement Tests
With Advanced Ads Pro, you can rotate placements. This means one or different ads appear on random positions and allows you to test which placements perform better or to fight ad blindness.
You can learn all about this feature in this tutorial.
What else do you need to know
Container id
The placements class is based on the placement name and the prefix. The prefix is derived from the ID Prefix option set under Advanced Ads > Settings > General. e.g. prefix-post-content. You can use this information to style the ads using CSS or target them with JavaScript.
Is your placement not showing up? Please take a look at Ads not showing up.