Google AdSense
on WordPress
It’s as easy as one-two-three
Get Advanced Ads for free
Type in your website URL and hit ‘Go’ to install the free WordPress ad manager plugin.
Prefer manual installation? Follow our short step-by-step guide below.
Connect your AdSense account
Time to dust off your Google AdSense publisher ID and get going with a single click!
Place AdSense ads on your website
Let Advanced Ads pull your AdSense ads in real time and place them each individually or via Auto Ads.
Discover the premium Google AdSense WordPress integration of Advanced Ads All Access
Elevate your ad revenue potential with Advanced Ads All Access, the perfect complement to our powerful free ad manager WordPress plugin. Take your monetization strategy up a considerable notch and experience the dynamic synergy between your website’s content and ad placements that your project is capable of.
With advanced features and customization options, our premium solution empowers you to maximize your earnings while maintaining a harmonious user experience. Supercharge your ad game with the perfect companion to our free WordPress plugin, opening new horizons for your website’s profitability.
-
1.4k+ Reviews
4.9
-
150,000+ Websites
-
30 Days Money Back Guarantee
Take over control in your backend
Empower your ad management with Advanced Ads’ intuitive backend tools. Effortlessly optimize ad performance by monitoring AdSense earnings and proactively identifying revenue risks through notifications. Gain easy access to essential ad management tools for uninterrupted service.
Place ad units from your account without coding
Easily integrate your Google AdSense ad units into your website without any coding. Advanced Ads offers a hassle-free bulk import feature to load all or specific ad units effortlessly from your account. You can also enable Google Auto ads, including Auto AMP ads, with just one click. No technical complexities, Advanced Ads handles it.
Create your ads.txt file automatically
Ensuring compliance with AdSense policies has never been easier. Advanced Ads will guard you against costly ad-serving disruptions by dynamically generating your ads.txt file in real-time, completely automating the process. By keeping this crucial file up-to-date and accurate, you’ll not only safeguard your ad inventory but also maximize your potential ad revenue.
Protect your Google AdSense account from click fraud
- Advanced Ads
- Pro
- All Access
Our Click Fraud Protection feature acts as a barrier against fraudulent clicks from competitors and bots. Activate it to safeguard your ads and maintain a healthy relationship with Google AdSense or other ad networks. This security measure ensures your campaigns stay protected, preventing potential bans or limitations on your accounts.
Pin your ads to your visitor’s screen
- Advanced Ads
- Pro
- All Access
Enhance your ad strategy! Place and emphasize Google AdSense ads inside and outside of your website’s layout using Sticky Ads. Keep your ads fixed in their positions, ensuring consistent exposure as users scroll. Choose from various positions, styles, and display effects to captivate your audience.
Automatically convert AdSense ads into AMP
- Advanced Ads
- Pro
- All Access
Tailor your ad sizes specifically for Accelerated Mobile Pages. Effortlessly optimize ad display on AMP, enhancing the mobile user experience. Easily disable specific AdSense ad units on AMP pages with a simple checkbox. Enjoy streamlined AMP ad management for a smooth and efficient workflow. Advanced Ads ensures your ads are fully AMP-compatible, providing a flawless user journey.
Unlock your full revenue potential with our tools
Prices include updates and support for one year, excluding VAT. You may cancel at any time. See pricing page for details.
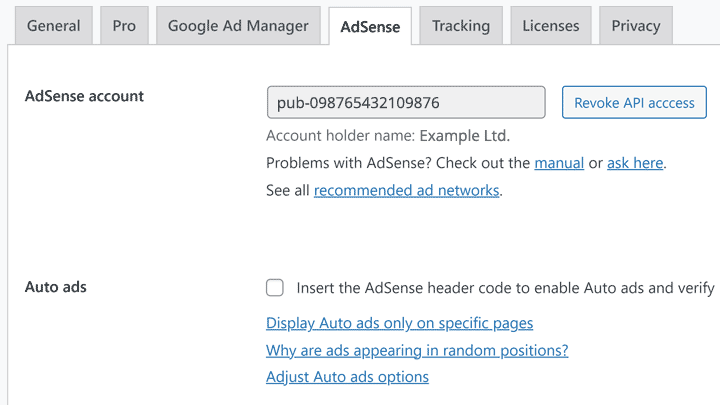
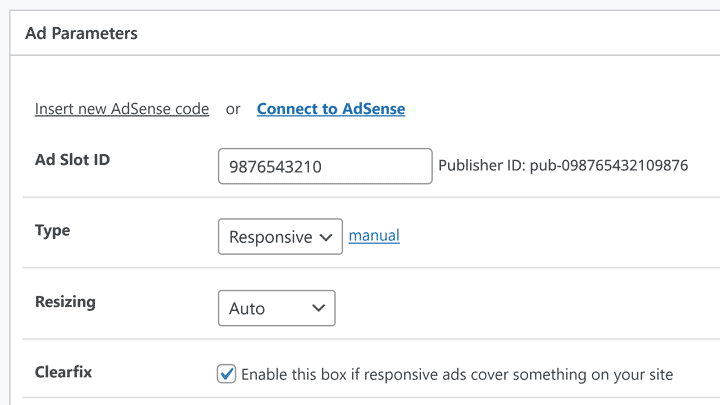
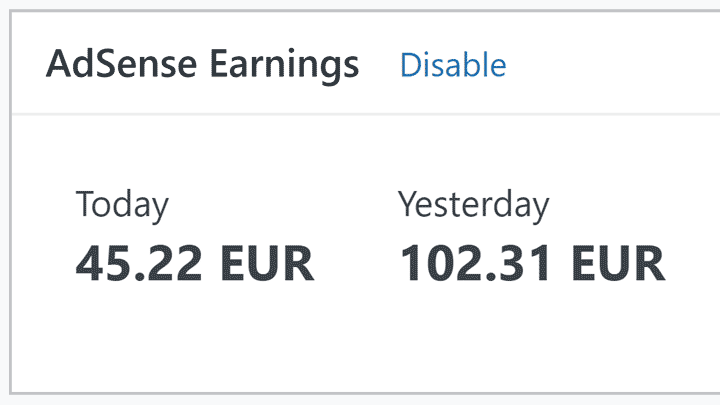
Amazing features of the most powerful and easy-to-use Google AdSense WordPress plugin
Code-free placement
Pull ad units directly from your Google AdSense account.
Unlimited banners
Place Google AdSense banners without volume limitation.
Monitor earnings
Show AdSense revenue directly in your WordPress backend.
Ads.txt generator
Automatically generate the ads.txt with correct AdSense entries.
Google Auto ads
Enable AdSense Auto ads and even Auto AMP ads.
AdSense violation checks
Comfortably consult the Ad Health integration and Google AdSense violation checks.
Fix yellow ad backgrounds
Optionally adjust your theme to remove the unwanted Google AdSense background color.
Advanced Ads features
Works with Advanced Ads features like automatic content injection, Display and Visitor Conditions, or Cache Busting.
AMP support
Convert Google AdSense ads into AMP ads automatically with the AMP Ads add-on.
Flexible ad handling
Change settings of your Google AdSense ads like type and sizes directly from your WordPress backend.
Supports all formats
Supports all Google AdSense ad types, including Google AdSense display ads, native ads like In-feed ads, In-article ads, Matched content ads, Multiplex ads, Google AdSense Auto ads, and Google AdSense Auto ads for AMP.
Full AdSense compliance
Hide Google AdSense advertisements on 404 pages by default to comply with Google AdSense terms.
Step-by-step installation guide
Log in to your WordPress dashboard, hover over Plugins and click Add New.

Enter “Advanced Ads” into the search form in the top right corner and hit Return to start the search.

Look for Advanced Ads in the search results and click on the Install Now button.
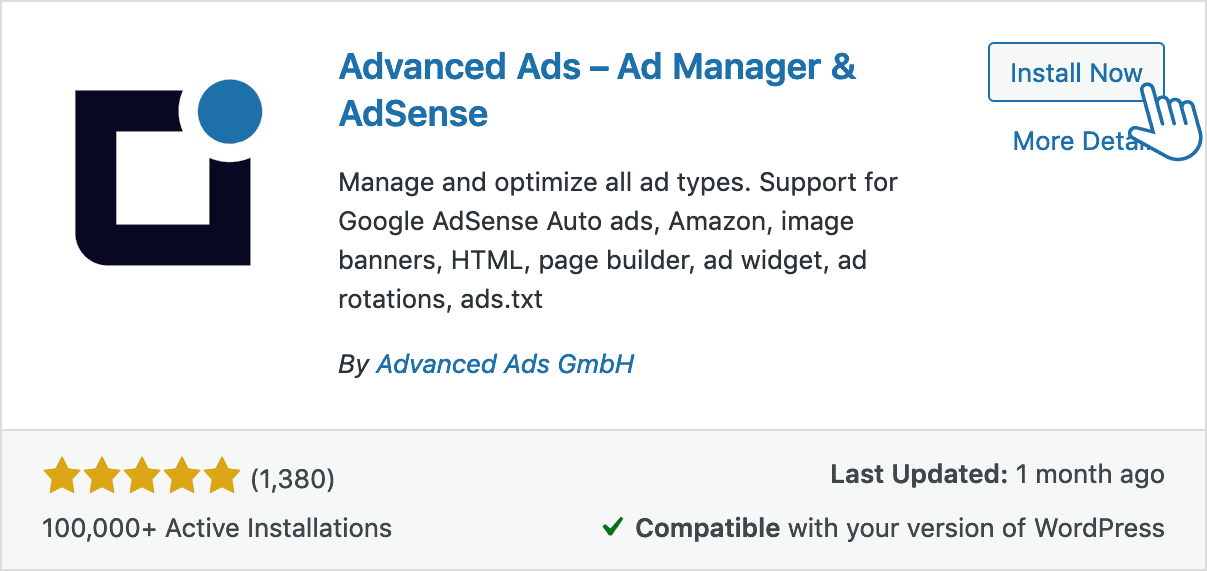
Click on Activate.

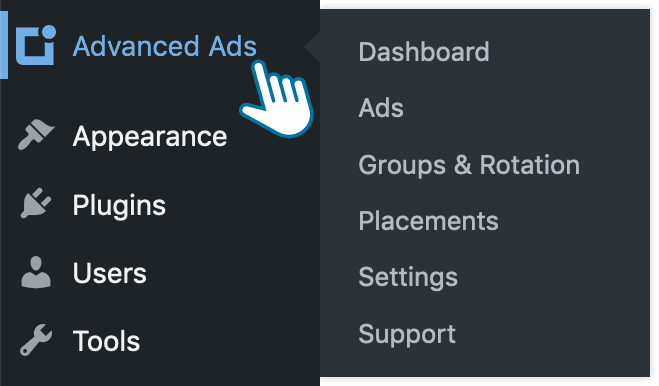
You should see the new Advanced Ads item in your WordPress menu.
Step-by-step installation video
Google AdSense on WordPress connection guide
Make sure you have a Google AdSense account. If you don’t, you can create an account here.
Make sure that you have Advanced Ads activated on your WordPress site—follow this guide.
Go to Advanced Ads > Settings and click on the AdSense tab.


Connect to your AdSense account using the Connect to AdSense button.

Log in to your AdSense account and verify Advanced Ads.
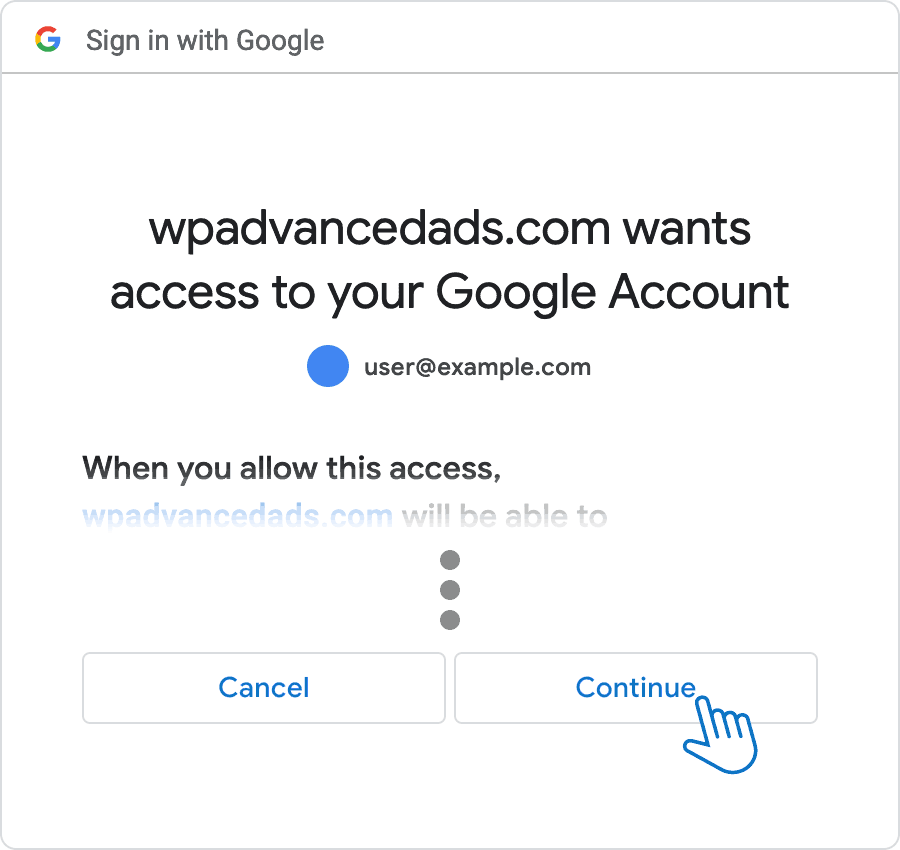
Enable the Auto Ads option to verify your site. No further coding is needed.

Google AdSense on WordPress connection video
Place Google AdSense ad units on your WordPress site
Make sure that you have Advanced Ads installed on your WordPress site—follow this guide.
Make sure that you have connected Google AdSense to your WordPress site—follow this guide.
Either allow Google AdSense Auto ads to automatically inject ads into your WordPress site…
…or place Google AdSense ads manually into allocated ad spots on your WordPress site.
Troubleshooting Google AdSense on WordPress
Need more help setting up Google AdSense on WordPress?
More than support
Our team has more than 10 years of experience running our own sites with up to 100 Million ad impressions per month.
There is not much we haven’t seen yet and we are happy to share our insights with you.
We check your Google AdSense WordPress setup for free!
You have just started using Advanced Ads and aren’t sure whether you have embedded Google AdSense correctly? Take this opportunity to request a free audit from a certified AdSense partner.
We will help you avoid issues and achieve higher revenue. Simply open a new thread and explain your problem and where you would like Advanced Ads to place your ads.

